
End to End Tooling For Data Scientists
Its has never been more exciting, rewarding, and challenging to be a data scientist. Advancements in foundation models have enabled new applications to be built in text, image, and multimodal domains. However this has come with a cost. The infrastructural challenges of working with large foundation models are larger than they have ever been. Data scientists are increasingly asked to become experts in building and managing the infrastructure needed to train and serve large foundation models, while also deeply understanding and modelling the data in front of them.
It is going to be increasingly important for data scientists to be equipped with the right tools, so they can manage the growing infrastructural demands of modern deep learning while still being able to focus on the core skill set of data science. DeterminedAI and Titan Takeoff are two such tools which take a data scientist the full distance training to model serving.
In this article we will show how to fine tune a generative model (GPT2) on your own data using Determined, and then efficiently serve it on GPU with int8 quantization using Takeoff.
Overview
To demonstrate how to use the Takeoff server with models trained using Determined we will walk through an example. We will be doing the following:
- Training a GPT2 model with DeterminedAI
- Downloading the saved checkpoint and converting it to a format that Takeoff can use.
- Deploying the model with Titan Takeoff.
Both DeterminedAI and Titan Takeoff are easy to use and don’t require a lot of code or configuration to get started. The trickiest step is mapping the weights that are downloaded by Determined to a format that Takeoff accepts. Let's delve into an end-to-end tutorial for transitioning from DeterminedAI to Titan Takeoff.
End-to-End Demo
Step 1. Model Training
Prerequisites: Setting Up the Environment for DeterminedAI and Titan Takeoff
To set up the necessary packages, use the following pip commands:
pip install determined
pip install titan-iris
Step 1: Deploy a Local Cluster Using DeterminedAI
det deploy local cluster-up
Once the cluster is active, navigate to localhost:8080 to view all experiment data and cluster details.
The default credentials are:
Username: admin
Password: None
Step 2: Initiate a Finetuning Experiment with DeterminedAI
For this demonstration, we'll utilize an example from DeterminedAI's Official Documentation.
This fine-tunes GPT2 on wikitext-2, a dataset created by scraping Wikipedia.
Download the language-modeling.tgz file and extract its contents.
You can do this on linux using tar :
tar zxvf language-modeling.tgz
This will extract the contents to a folder called /language-modeling . Navigate to the folder and there should be a config file: /language-modeling/clm_config.yaml.
Be sure to set the correct number of GPUs for your machine in clm_config.yaml
resources:
  slots_per_trial: <your number of gpus>
To initiate the fine tuning job, navigate to the folder with the yaml and run the experiment create command:
cd language-modeling
det experiment create -f clm_config.yaml .
After the task is successfully dispatched we can view all the training info and stats on the same dashboard as before at localhost:8080. This is also where we track the training progress and view other relevant details. After this, just wait for the training to complete.
Step 2: Model Conversion
Now that training is done we need to download to the model.
- Navigate to the
CheckpointsUnder your experiment:
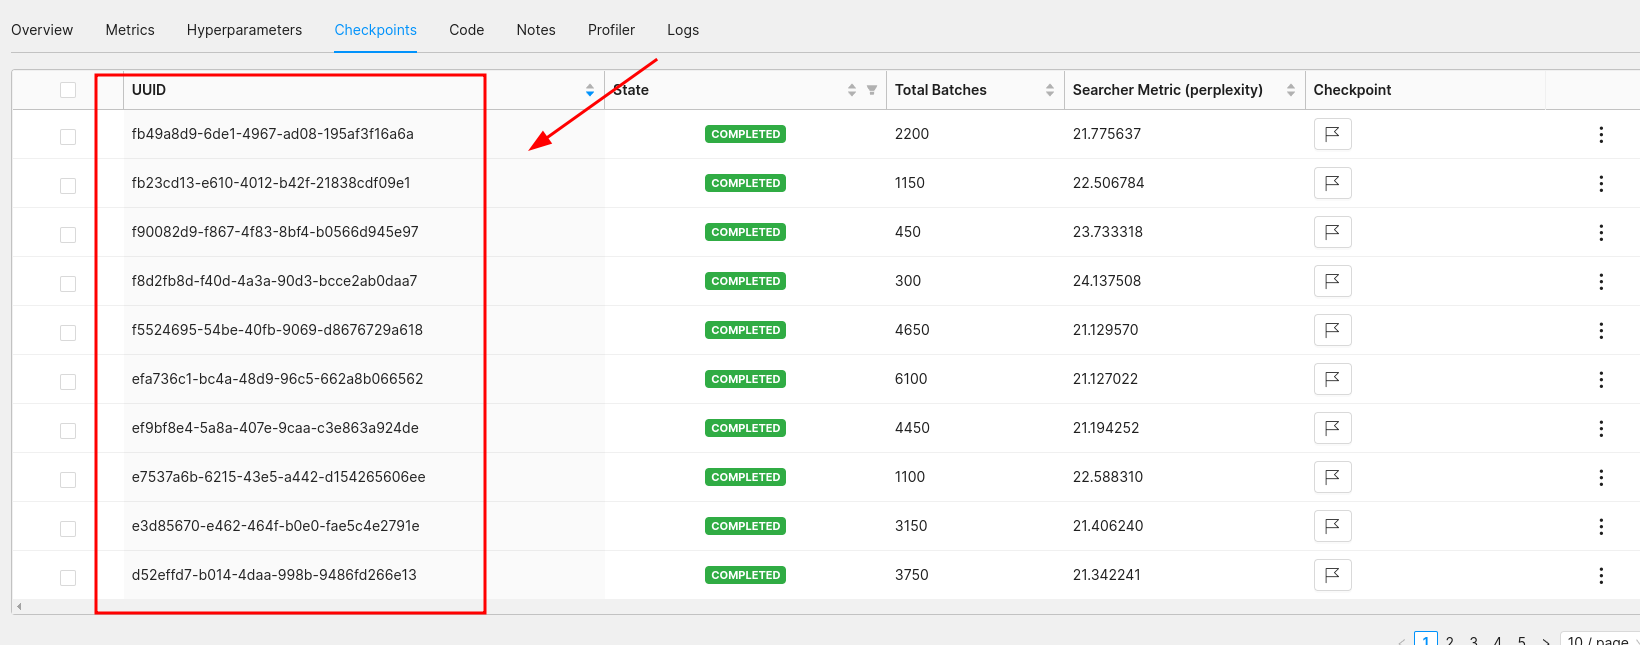
Record the UUID for the checkpoint you would like to download.
- Use the following command to download the model:
det checkpoint download <your_checkpoint_model_uuid>
- Converting to the HuggingFace Model Format
Once downloaded, the model can be found in the checkpoints folder, identified by its unique UUID. The model weights are saved in the state_dict.pth file. Our next task is to convert this model into the HuggingFace format. This is done by initializing a model using the HuggingFace transformers package, loading the weights into the model class, and then saving it to a directory.
Here's a script to guide you through this process:
import torch
from transformers import GPT2LMHeadModel, GPT2Tokenizer

checkpoint = torch.load('checkpoints/<your_checkpoint_model_uuid>/state_dict.pth')
model_state_dict = dict(checkpoint['models_state_dict'][0])

# Remove unexpected keys from state_dict_as_dict
unexpected_keys = [
    "transformer.h." + str(i) + ".attn.bias" for i in range(12)
] + [
    "transformer.h." + str(i) + ".attn.masked_bias" for i in range(12)
]

for key in unexpected_keys:
    if key in model_state_dict:
        del model_state_dict[key]

model = GPT2LMHeadModel.from_pretrained('gpt2')  # Instantiate GPT-2 model
model.load_state_dict(model_state_dict)  # Load your weights
tokenizer = GPT2Tokenizer.from_pretrained('gpt2')  # Instantiate tokenizer

model.save_pretrained('gpt2_hf')  # Save model to gpt2_hf
tokenizer.save_pretrained('gpt2_hf')  # Save tokenizer to gpt2_hf
We need to remove some weights since the model used by Determined has a different set of weights as the Huggingface implementation of GPT2.
Once the model and tokenizer are saved in the 'gpt2_hf' directory, the conversion phase is complete!
Step 3: Model Deployment
Moving the Fine-tuned Model
Deploying the fine-tuned model on the Titan Takeoff server is easy. Begin by moving or copying the model's folder to ~/.takeoff_cache. On a Linux system, this can be accomplished with:
cp -r gpt_hf ~/.takeoff_cache
Deploy with Titan Takeoff
To deploy your model, simply use the following command:
iris takeoff --model gpt_hf --device cuda
The --device flag is optional. If you omit this argument, the model will run on the CPU by default. Once executed, you'll have an optimized GPT-2 model running on your local server.
Using the takeoff server you have the option to deploy using a range of quantization types, from bfloat16 to int4, on cpu and gpu, optimized for throughput or latency as needed. This makes it easy to take advantage of all the hardware available to data science teams, and be able to build high performance, scalable applications on top of LLMs.
Model Inference
You can inference the model using the API:
curl http://localhost:8000/generate_stream \
     -X POST \
     -N \
     -H "Content-Type: application/json" \
     -d '{"text":"List 3 things you can do in London"}'
Or using the Playground interface at localhost:8000/demos/playground :
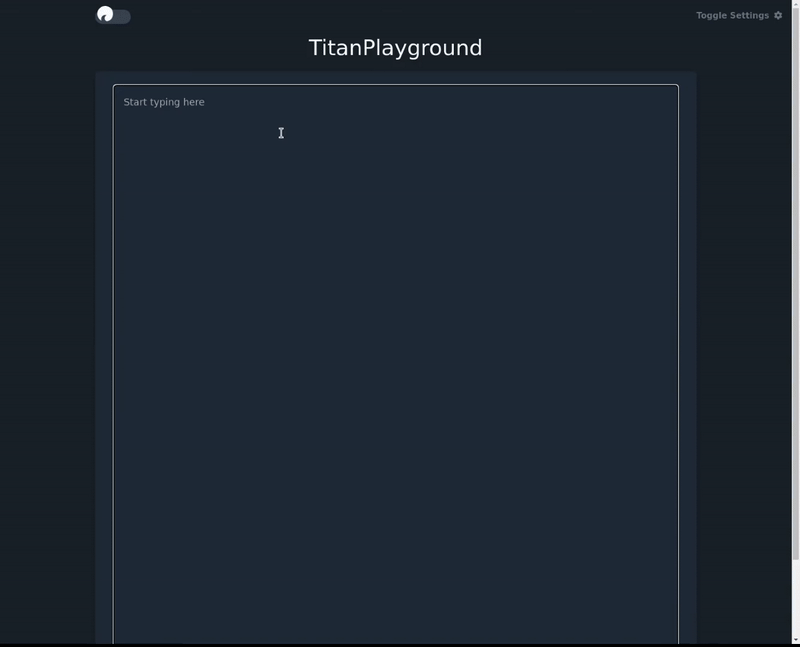
For more detailed guidance and advanced features, refer to the Takeoff Docs.
Wrapping Up
To wrap things up, we have seen the seamless integration of DeterminedAI and Titan Takeoff allows for a smooth transition from model training to deployment. With a three-phase process that involves model training, conversion, and deployment, users can easily transition from a DeterminedAI-trained model to being fully operational with Titan Takeoff. Keep this guide handy, and remember: from training wheels to full throttle, your model's journey has never been this streamlined! 🚀